I have done what some men would call “girly” things for years. I’m not a hunter. I don’t get anything from cars except a ride. I like fishing but I never go. I’m more of a creator. I love to crochet when I am motivated. I love to write, also when motivated. I also love to cook which doesn’t really take much motivation in the slightest. I feel more calm and collected when I am creating. The same applies to work in most cases. I like to create things that are useful or are pretty or tasty. It’s just part of the character called Wes. It pretty much always has been. School was always special to me, but it was even more special when I could create something. For instance, in tenth grade, I took a semester of Home Economics and made a placemat and a pair of pants which started my love of using the sewing machine. Unfortunately, I got in there too late to cook.
Recently, I’ve become interested in cheese making. I know, weird! I watched a couple of YouTube videos (like one does) and I became instantly amazed. I could totally do that! I couldn’t believe how easy it looked. Let me paint you a picture with the process I followed and you’ll see how anyone could do this.
The first ingredient needed was a gallon of whole milk. I would never buy that, but this was a special case. The milk cannot be ultra pasteurized. Second, I needed cheese cloth that wasn’t the cheap kind with large holes. I needed a 90-100 grade of cloth. Think muslin material from a craft store. I found a 100 grade on Amazon and bought it. Then came the kitchen supplies. I needed a good strainer/colander and I needed a bucket to catch the whey (I’ll explain later). When I decided I wanted to get it done, the other half was out at a bar and I didn’t feel like being bored at home. I went to my closest Kroger to see what I could find.
Of course, by the time I got to it, the gallon of milk in the fridge was out of date. Badly! I had to get another gallon. I found a colander and I found a bucket. Check and check. Now what else did I need? It’s a good idea to salt your farmers cheese. You don’t have to salt it if that’s a concern, but it does give it a nicer taste. The salt used should not be regular iodized table salt. You could use kosher salt or sea salt. In the kitchen section, I found a grinder full of pink Himalayan salt which would work perfectly. I also needed a new container for storage. A couple weeks earlier, I found a good thermometer on Amazon so I didn’t need to find one. I believe I was set.
Now, a decision has to be made. How are you going to achieve separating the curds from the whey? The starter of this process is an acid. There are different options such as the two that are simple to use such as vinegar or lemon juice. For a gallon of milk, a half cup of either is needed. I figured that since this was my first attempt, I would go the simple route and use white vinegar. I had plenty since it’s good to use while cleaning tea kettles and Keurig coffee makers. One purchase for multiple uses.

When I got home, I pulled out my large silver pot with the thick bottom. I attached my thermometer to the side and poured in the entire gallon of milk. I set the heat to medium low. That setting can be different on every stove. On a gas stove, it’s not so different, but we have an electric stove which is totally not my favorite. I’m thinking of getting an induction burner for future cheese making. The thought is to slowly bring the milk to 190° F. Water boils at 212° F and we don’t want that. There should be a bubbly top to the milk without rolling. Once the milk reached the desired temp, I cut off the heat and set the boiler to the side. I poured in the half cup of vinegar and stirred the milk. I placed a kitchen towel over the top and told Alexa to set a timer for 20 minutes. She obliged.
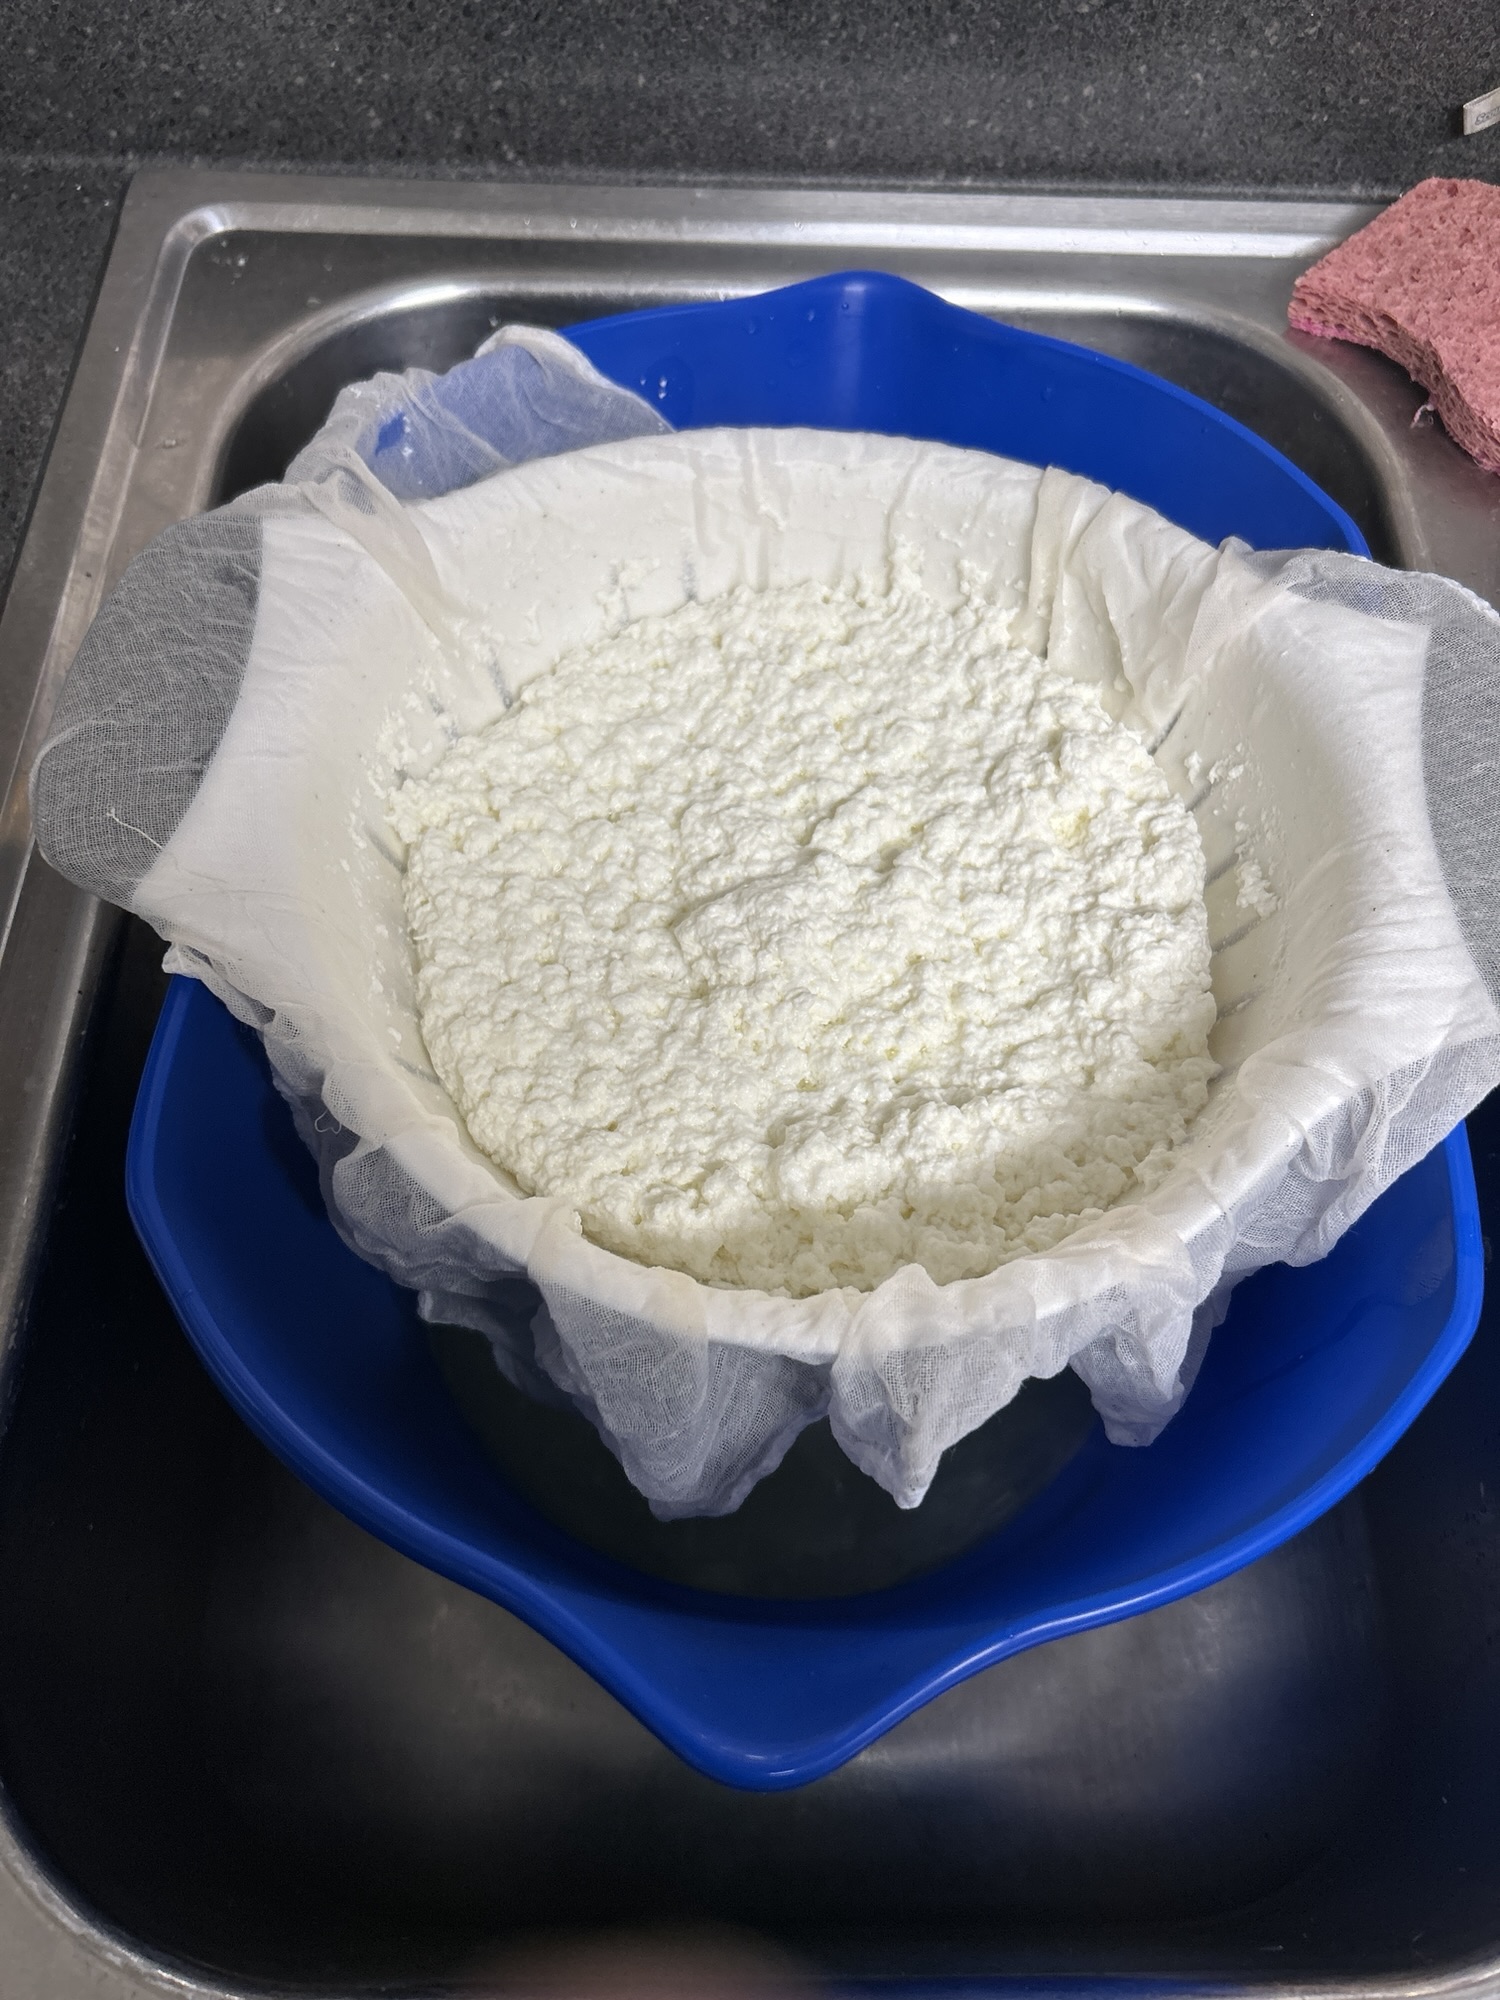
When the timer sounded, I removed the kitchen towel and saw a shiny white coating on top. The video said to stir the mixture to break up the curds. It was so relaxing to see the curds simply fall apart and reveal a clear yellow fluid. I had previously sat the bucket into the sink with the colander on top, lined with the cheese cloth. I poured the mixture into the colander and the whey filtered into the bucket. At this point, when the whey has mostly strained through, you can add the salt. I ground salt across the top and mixed it in with a spatula. I then covered it again and mixed a second time.

At this point, the cheese is still quite warm. If you can handle it, you can take the four corners of the cloth and bring them together in your hand. Apply pressure to the cheese inside and it will express more of the whey. I did so as much as I could because….hot! I let it sit there for a little while longer to strain. In the video, I watched how the lady tied the cloth around a long wooden spoon and sat it across the bucket to let it strain. She only did it for about two hours and so that’s what I did. I watched TV for a while to relax. I eventually untied the cloth from the spoon and removed the cheese from within. It looked so awesome and I was very proud of myself. I’ll get more pictures next time I make this.

You may wonder about the texture of farmer’s cheese. It’s pretty much just like feta. It may be a bit more tacky depending on how much moisture is still in it. I let it hang for about two hours, but others tend to let it hang overnight. I’ve since made more with lemon juice and I allowed it to hang overnight. I didn’t see a big difference. I’m looking into getting a cheese press off Amazon and seeing how that changes the consistency.
Another question may be….can you do anything with the whey? Well, you can actually. Some people use it to put into bread dough for biscuits or whatever else. You can also put it into protein shakes for a bit more texture. Also, believe it or not, you can spray it around garden plants as fertilizer or pour it into compost bins to give the bacteria a bit more to eat. There is another YouTube video I watched where the guy pours the whey back into the boiler from the fridge, heats it back up to the 190° F and, low and behold, there was more curds to get out of the whey to make ricotta cheese. He used two gallons of milk for his and was able to get a nice amount of ricotta. I have tried it with one gallon and there wasn’t enough to make a difference. I also researched if it was better to put it in the fridge before reheating it. The results of the search told me that it wasn’t needed. I could simply heat the whey again. Eh. I’ll try cooling it down next time.
I’m having a good time making cheese and I find it a wonderful addition to my salads. I may get around to using it in lasagna later. I haven’t made that in forever. It will have to be served at one of our family dinners at home.